Measuring and Drilling
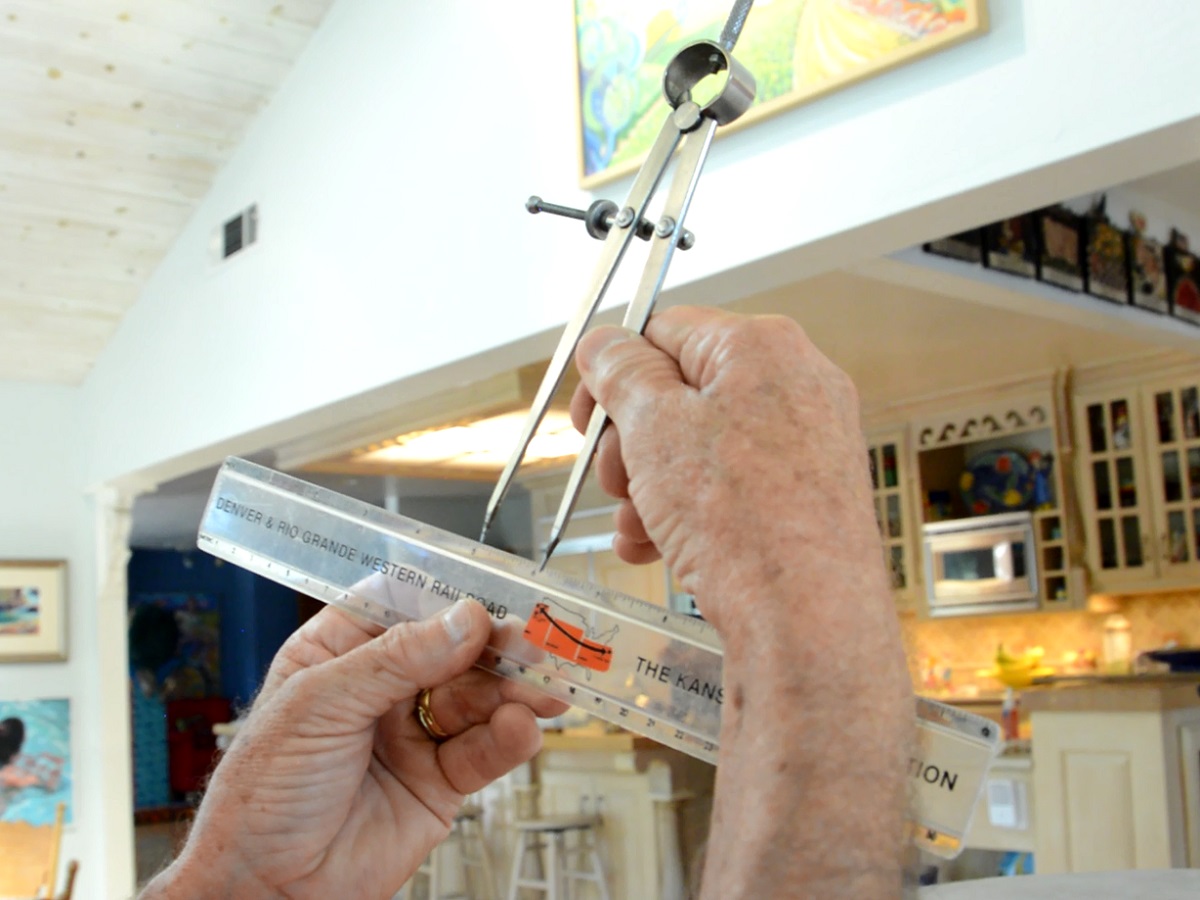
We have a couple of tack heads with the shafts removed, and these can be used to position where to place the center line that will mark the top row of tacks. With our template, the typical stretch will have the mimi about 4 ½” long and we set the line to 1½” or 1¾”. We clamp the compass to the wood piece in order to draw a level line in light pencil around the skin. Then we use the double-pointed compass to mark holes that will be drilled. For the #6 sized tacks, we set the tacks to be 1 1/16th inches on center. This is just our preference for aesthetics. Press firmly into the skin to make each mark. As the circle of tack marks is nearly complete, they can be made to appear as evenly spaced with a bit of a trial-and-error that we’ve come up with. When within 8″ of the complete circle, gently walk the compass toward the end and see whether it is too much or too little, and then widen or narrow the opening slightly and repeat until it will come out even. These tacks will be just slightly closer or further apart, but it will not be noticeable, and this gives a very nice look. Then we pre-drill each of the tack holes using a 3/32″ diameter bit that is positioned so that the depth of the hole is same length as the tack shaft.